
Urban Sketching & Visual Documentation
Combine photography with sketching to capture urban scenes through multiple mediums and discover creative inspiration in city exploration.
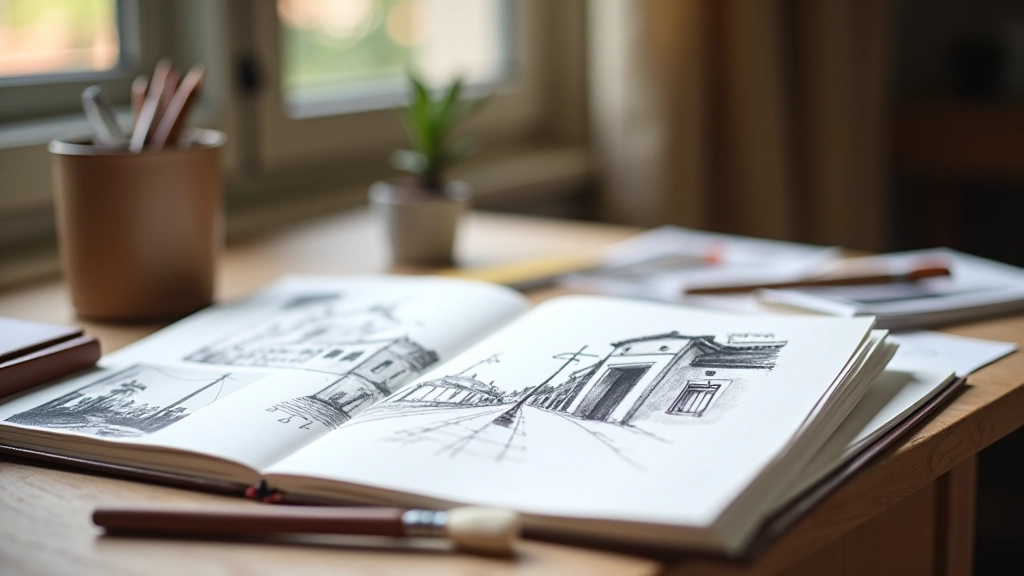
Where Photography Meets Pen & Paper
Urban sketching isn't just about drawing. It's about slowing down in a fast-paced city, observing details you'd normally miss, and creating a personal visual record of your surroundings. When you combine this with photography, you're developing two complementary skills that reinforce each other beautifully.
For those in their 40s, 50s, and 60s, urban sketching offers something photography alone can't quite capture — the meditative process of hand-drawn documentation. It's tactile. It's intentional. And it forces you to really look at a place before you ever pick up a camera.

The Urban Sketching Process
Start simple, then layer your documentation with photos and details.
01
Scout Your Location
Spend 10-15 minutes just walking around. Look at the light, the shadows, the way people move through the space. Notice architectural details — the texture of a wall, the pattern of windows, the curves of a doorway. This isn't rushed. It's observation.
02
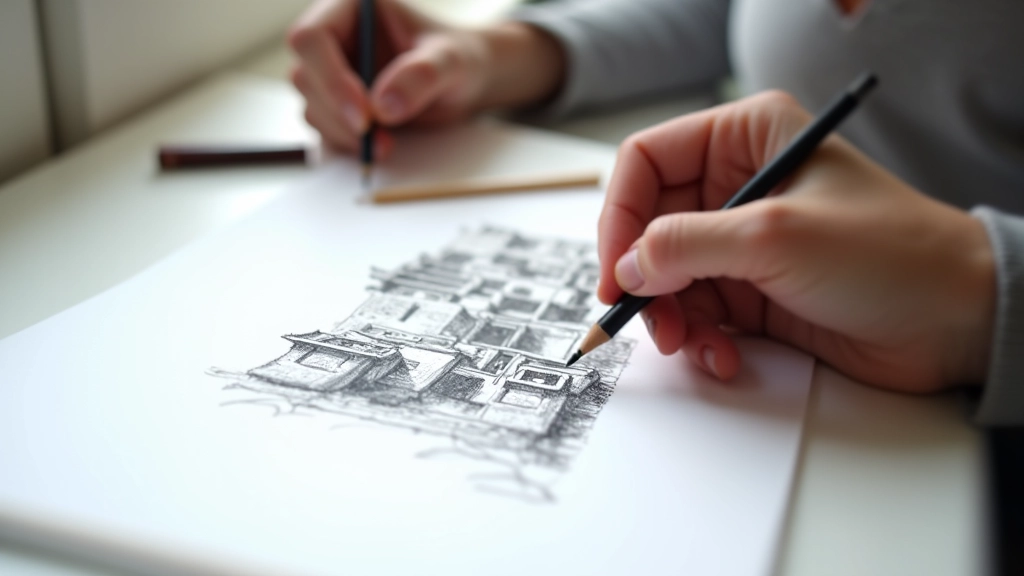
Make Your Sketch
Quick pencil work — 15-25 minutes is plenty. You're not creating finished art. You're documenting what caught your eye. Include a mix of detail and negative space. Let some areas be minimal while others get more attention.
03
Photograph Multiple Angles
Capture the full scene, close-up details, and alternative compositions. These aren't just backups — they're reference material for future sketches and help you remember the light quality that drew you to the spot.
04
Finish & Archive
Back home, you can add color, refine details, or leave your sketch as-is. Store photos with your sketch. Over time, you've built a visual diary of specific places — invaluable for memory and for understanding how your eye develops.
Essential Sketching Techniques
You don't need to be a trained artist. These three techniques work for anyone:
- Gestural Lines: Quick, loose marks that capture movement and overall shape. Don't overthink it — just feel the form with your pencil.
- Contour Drawing: Follow the edges of objects without looking at your paper too much. It forces you to really see the shape you're drawing.
- Value Study: Use shading to create depth. Even with just pencil, you can suggest light and shadow that gives your sketch dimension.
Most sketchers spend about 20-30 minutes per drawing. You're not aiming for photorealism — you're capturing presence and feeling. The imperfections are actually what make urban sketches personal and memorable.
What You Actually Need
Keep it light, keep it simple.
Sketchbook
A5 or A4 size, hardbound preferred. You'll carry it often, so durability matters. Budget paper is fine — you're not creating museum pieces. We recommend 140gsm paper minimum to handle erasing and layering.
Pencils & Charcoal
A range of graphite grades (HB through 2B for most work). A charcoal pencil or stick for darker values. Doesn't need to be expensive — even €8-12 worth of decent pencils will last months.
Eraser & Blending
A kneaded eraser for subtle corrections. A tissue or blending stump for softening lines. These are optional but incredibly useful for creating depth and atmosphere in your sketches.
Camera or Phone
Document your sketches and the locations. A smartphone camera is perfectly adequate. The key is capturing reference material for future work and building your visual archive over time.
Portable Seat (Optional)
A lightweight sketching stool makes longer sessions comfortable. Some urban sketchers prefer standing — it's personal. If you sit, a portable stool around €15-20 is a worthwhile investment.
Sketchbook Bag
Something compact that protects your materials without being bulky. Messenger bags or crossbody packs work well. You want everything accessible without weighing you down during your urban walks.
Integrating Sketch & Photo
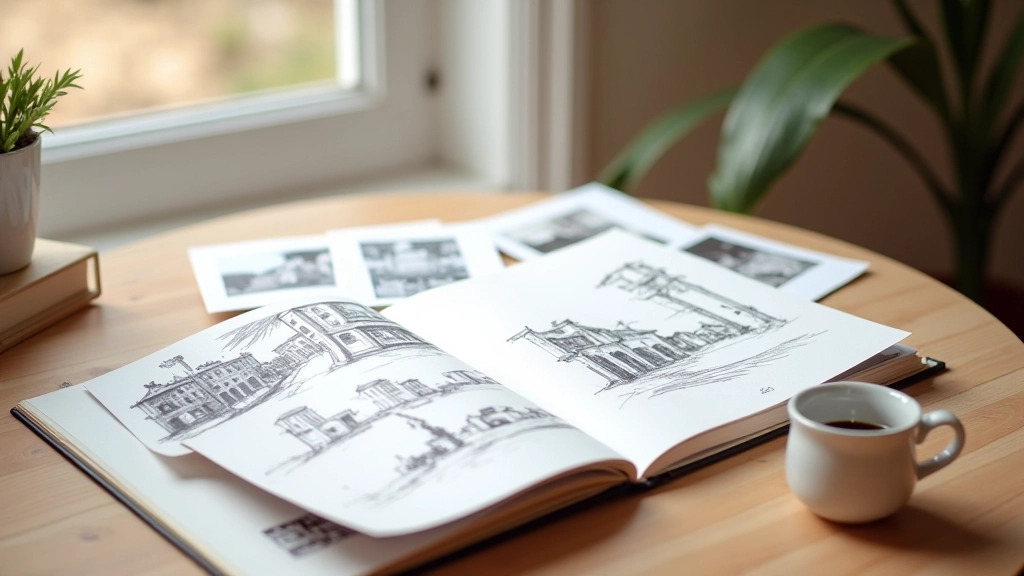
Here's where it gets interesting. Your sketch and photographs aren't separate outcomes — they're complementary documentation of the same moment and place.
Keep your photos organized with the sketch they accompany. Date everything. Add notes about the location, time of day, or what drew you to the scene. Over a year, you'll have created a detailed visual journal of your city — something no single medium could achieve alone.
Many urban sketchers eventually exhibit their work in pairs: the sketch alongside a photograph of the same location. It's a powerful way to show the artist's perspective versus the camera's objective record. Both reveal truth, just differently.
Where to Find Inspiration
Portugal's urban landscapes are incredibly rich for sketching. Historic buildings, narrow streets, tiled facades, harbor views — there's visual interest everywhere.
Historic City Centers
Porto's Ribeira district, Lisbon's Alfama, Évora's medieval streets — these places reward slow observation. The architecture tells stories in every wall and window.
Markets & Street Life
Early morning at local markets captures activity and texture. People, produce, light — it's all happening in concentrated, visually rich spaces.
Waterfront Areas
Reflections, boats, architectural details — water adds complexity and beauty to your compositions. The Douro, Tejo, and coastal areas offer endless sketching opportunities.
Tile Work & Details
Portuguese azulejo tiles are an entire subject on their own. Close-up studies of patterns, textures, and colors develop your technical skills beautifully.
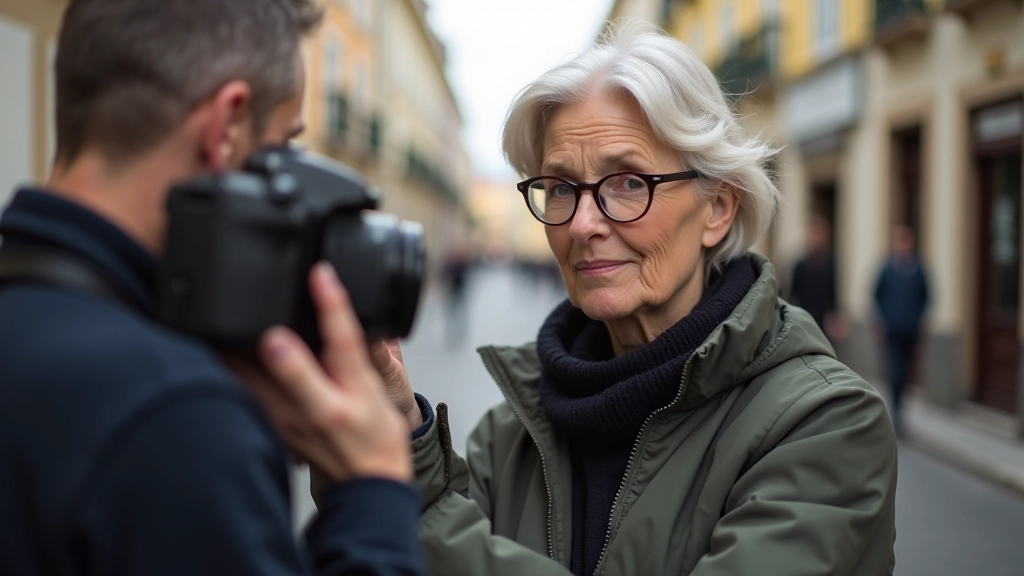
"Sketching forces you to pay attention in a way photography doesn't always require. By the time I'm done drawing a building, I know its proportions, its character, its light. Then the photograph becomes the memory aid."
— Maria, sketcher and photographer, Lisbon
Getting Started This Week
You don't need permission, experience, or expensive gear. Pick a neighborhood you know. Spend an hour there with sketchbook and camera. Draw one scene. Take a few photos. Notice how differently your brain engages with the two mediums.
That single hour might spark something that becomes a regular practice — a reason to explore your city more deeply, to see familiar places with fresh perspective. For many urban sketchers, it becomes a meditation, a hobby, sometimes even a path toward exhibition or publication.
The beauty is you're not competing with anyone. You're creating a personal visual archive of places and moments that matter to you. That's worth doing, whatever your age or experience level.
Related Articles
About This Guide
This article is informational and educational in nature. Urban sketching techniques and practices vary widely based on individual preferences, experience, and artistic goals. The suggestions provided are based on common practices within the urban sketching community and are intended to serve as a starting point for your own exploration. Results, progress, and experiences will differ from person to person. Always sketch and photograph respectfully, following local guidelines and obtaining permission when necessary in private spaces. This guide is not a substitute for in-person instruction or professional art classes, which can provide personalized feedback and techniques tailored to your specific needs.