How to Prepare Your Work for Exhibition
Everything about printing, framing, and presenting your photographs. We've gathered insights from photographers who've shown their work.
Getting Your Photos Exhibition-Ready
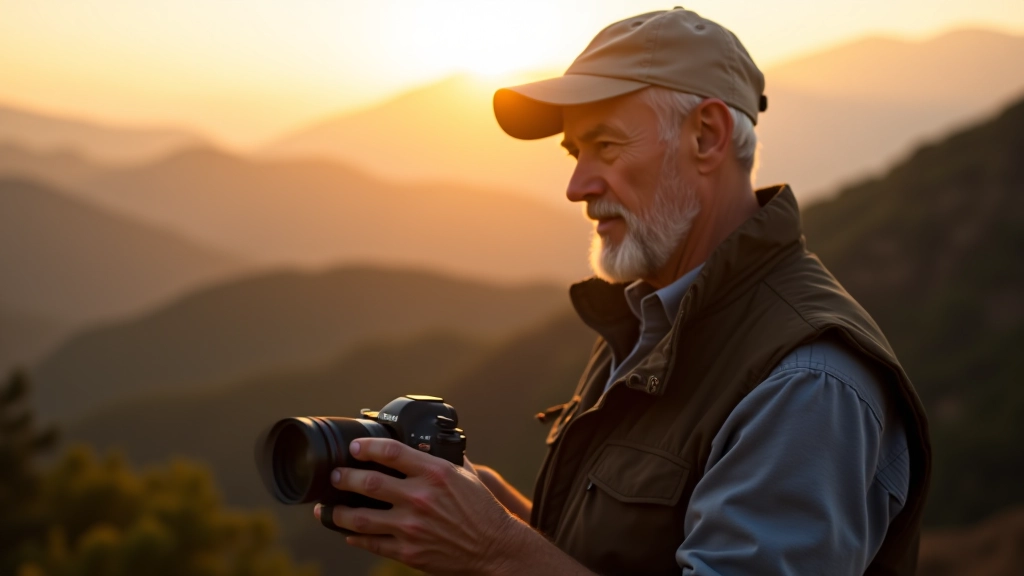
You've spent months capturing beautiful moments during our landscape walks and portrait workshops. Now comes the part that transforms good photographs into gallery-worthy pieces — preparation. It's not just about printing and hanging. There's technique involved, real decisions to make, and yes, some practical details that separate amateur displays from professional presentations.
We've talked with gallery owners, curators, and photographers who've exhibited across Portugal about what actually works. They don't all agree on everything, which is honest. But they do agree on the fundamentals. And that's what we're covering here.
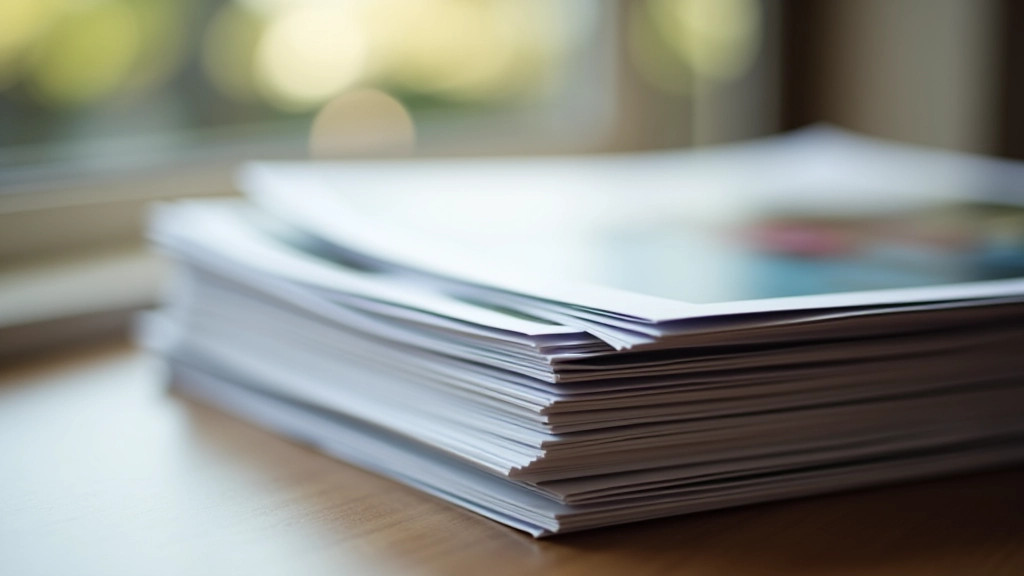
Choosing the Right Print Quality
Print quality matters more than people think. We're not saying you need the most expensive option — just the right one for your work. Most serious photographers working with galleries use either matte or luster finishes. Matte gives a softer, more refined look. Luster adds depth and slight shine. Glossy? That's generally avoided in gallery settings because it reflects light and reads as less professional.
Paper weight is another thing people overlook. A 300gsm paper feels substantial in your hands. A 250gsm feels lighter. For exhibition prints, aim for 280gsm minimum — ideally 300gsm or higher. You'll notice the difference immediately. Cotton fiber papers like Hahnemühle or Epson Fine Art papers are popular among our club members because they handle color beautifully and age well. Pigment-based inks (not dye-based) will last 50+ years without fading.
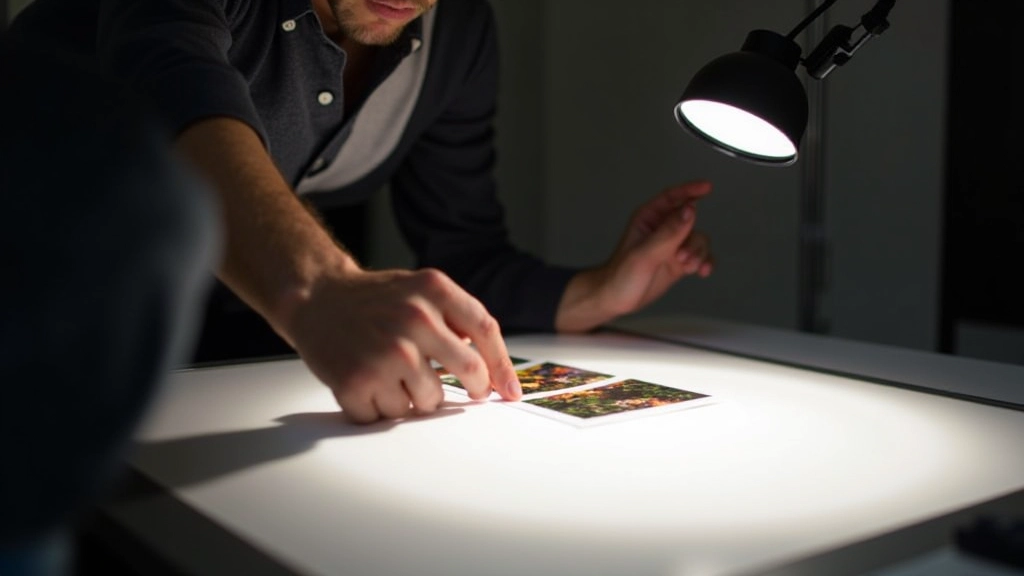
Color profiling matters too. Get a test print first. Check it under gallery lighting — not your home lights. Different lighting reveals color shifts you won't see anywhere else. Many print labs will provide this as a service.

Framing and Matting Decisions
Here's where a lot of photographers get stuck. Should you frame it? What color mat? What frame? The good news — there are rules that actually work, and they're simpler than you'd think.
For exhibitions, many photographers skip the frame entirely. You'll see museum-quality presentations with just the print mounted directly to the wall using archival-quality mounting or backing. This works especially well for color photographs because the frame doesn't compete with the image. If you do frame, keep it minimal. Natural wood or brushed metal. No ornate frames in gallery settings — they look dated and pull focus from your work.
Matting is where you get creative. White mats work with almost everything. Cream mats add warmth. Dark gray can be sophisticated. The rule we've seen used consistently — the mat width should be proportional to your image. A 40x60cm print typically uses a 3-4cm mat border. Thicker borders make smaller images look significant. Too thin and the print feels cramped. Conservation-grade mats and backing are essential — cheap mats yellow and damage prints over time.
Sizing and Composition Considerations
Print size affects how people experience your work. A 20x30cm print reads as personal and intimate. A 60x90cm print commands attention. There's no right size universally — it depends on your image and the space. But here's what gallery owners tell us: consistency matters. If you're showing five pieces, they shouldn't be wildly different sizes. This doesn't mean they're all identical. You might show three at 40x60cm and two at 30x40cm. The variation feels intentional, not accidental.
Landscape orientation works well for wide scenes. Portrait orientation suits close-up work. Square formats have become popular recently and read as contemporary. Just pick one or two orientations for your exhibition rather than mixing all three. This creates visual cohesion even if the photographs are completely different subjects.
Cropping during printing is something to plan for. You don't have to print the full frame. Many photographers crop slightly to improve composition. This happens in post-processing before you send files to the printer. Your aspect ratio (width to height proportion) affects what sizes you can use. Check this before ordering prints to avoid surprises.

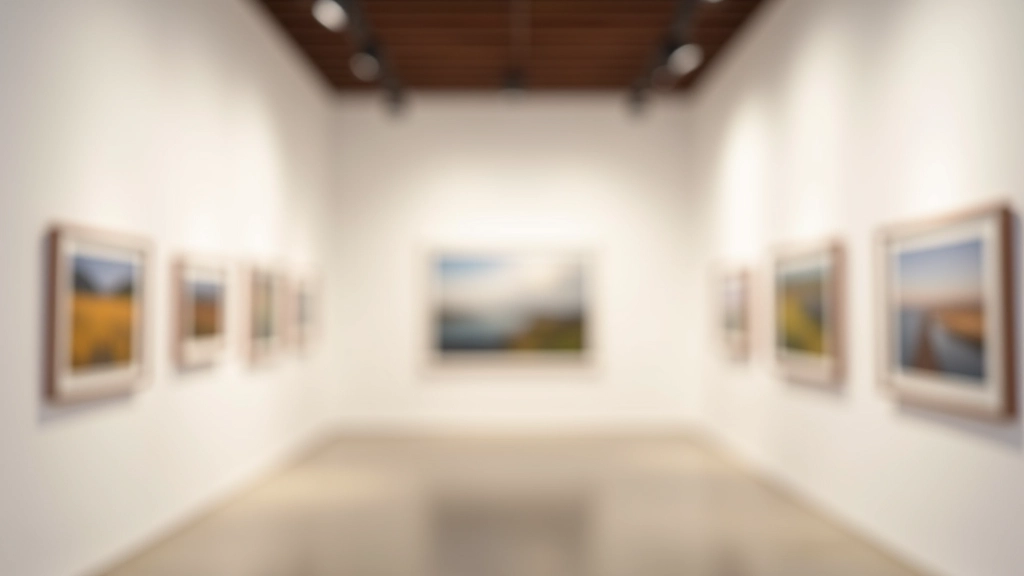
Presentation and Wall Placement
How you hang your work matters as much as the prints themselves
01
Height and Spacing
Center your prints at eye level — typically 150-160cm from the floor to the center of the frame. Space between prints should be consistent. 10-15cm gaps between frames creates a cohesive look. Too close feels crowded. Too far feels scattered.
02
Lighting Setup
Proper lighting transforms photographs. Gallery lighting (typically 3000K warm white) brings out detail and color accuracy. Position lights at 45-degree angles to minimize glare. Avoid direct overhead lighting which flattens images. Test your lighting before the exhibition opens.
03
Wall Preparation
Clean walls thoroughly before hanging. Use painter's tape to mark positions before you hang anything. If you're using wire systems, hang them securely — nothing worse than a print crashing down. Check weight limits. A 60x90cm mounted print can weigh 3-4kg. Most gallery walls handle this, but verify first.
04
Labeling and Information
Include small labels with title, date, and location. Some photographers add a brief description (one or two sentences). This context helps viewers connect with your work. Keep labels professional — small, clean typography, typically in the lower right corner near the frame.
Your Exhibition Preparation Timeline
Rushing this process shows. Planning ahead makes everything smoother. Start thinking about exhibition preparation while you're still shooting. This means selecting your best work, editing consistently, and thinking about how pieces will work together.
Six weeks before your exhibition, you should have your final image selection locked. This gives you time to order test prints, make adjustments, and reorder if needed. Four weeks out, finalize your framing decisions. Order frames and mats now — custom work takes time. Two weeks before, you should have everything in hand. The final week is for wall planning, positioning, and setup.
We've seen photographers panic because they ordered prints two days before opening. Don't be that person. Quality print labs need at least 5-7 working days for professional-grade work. Rush orders cost more and often show quality issues. You're showcasing months of work — give the physical presentation the time it deserves.
"The printing and framing isn't separate from the photography. It's the final creative decision. I've seen great images look mediocre because they were printed poorly, and decent images look outstanding because the presentation was perfect."
— João, photographer and club member since 2021
The Real Impact of Preparation
Exhibition preparation isn't about following rules perfectly. It's about understanding the principles so your work is presented the way you intended. You've spent time composing, waiting for light, editing thoughtfully. The physical presentation is where all that effort becomes real for people viewing your work.
Start with the fundamentals we've covered — quality printing, thoughtful framing, proper spacing and lighting. As you gain experience, you'll develop your own style and preferences. Some photographers prefer minimal presentation. Others love elaborate framing. Both work when they're intentional.
If you're planning your first exhibition, we'd love to hear about it. Many of our club members have shown work in galleries, cafes, and community spaces around Portugal. They've learned what works through experience, and most are happy to share advice.
Ready to Show Your Work?
Connect with other photographers in our community who've exhibited their work. Share your questions, get honest feedback, and find exhibition opportunities in Portugal.
Join Our CommunityRelated Articles
Disclaimer
This article provides general guidance on exhibition preparation based on experiences shared by photographers in our community. While the recommendations reflect industry standards and best practices, specific results may vary depending on your location, equipment, and local gallery requirements. Always verify technical specifications with your print lab and confirm framing requirements with the venue hosting your exhibition. Gallery owners, curators, and venue managers may have specific guidelines for your particular show — these should take precedence over general recommendations. We encourage you to test approaches on smaller pieces before committing to large-scale exhibitions.